In this "one-minute" tutorial you will learn to do the following:
- Creating a new database
- Adding and deleting records
- Add database fields to fit your needs
- Deleting a database
1. Creating a new database
Creating and using a database with iDatabase for Mac is very easy, follow these steps.
- Open iDatabase on Mac.
- Be sure to be in the "Databases" window (if you can't see that window, choose Open Database... from the File menu).
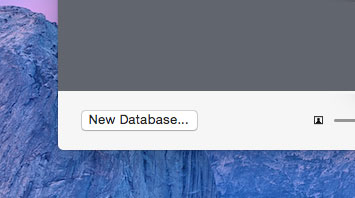
- Click on the "New Database..." button. You'll see a list of templates.
- Select the template that seems to you more like what you need (or choose "None" to start from scratch).
- Press "Choose" to see what fields will have your database (you can add, remove and rename the fields later).
- Press on the "OK" button.
- Change the name of your new database if you want to, and then press return to confirm the name.
- Click on the database you created to open it.
- When the database opens, follow the online instructions for create your first record.

2. Adding and deleting records
- To add records, click on the "+" button under the record list.
- To delete a record, select it in the side bar and click on the "-" button under the record list.
Near the buttons, you'll find also the indication of the number of records present in your database.

3. Add database fields to fit your needs
- Click on the "Define Fields" button on the top of your screen to enter in Define Fields mode.
- Define which fields you'd like to have in your database (you just need to drag and drop fields from the "Available fields" to "Database Fields" sections).
In the Label box, change the names of the fields to suit your needs.
- When you're done, just click on the "Done" button at the top right of the window to exit to back to Use mode.

Delete a field
To delete a field, click on the "x" button in the field's box (note that the upper field is the Main Field and can't be deleted, it can only be renamed).To customize the items of a Choose Field, Just double-click on the current items (Item 1, Item 2 etc.) and then enter you preferred text (every line will be an item of the pop-up menu).

Remember that you can return to the "Define Fields" panel every time you want to make changes.
The Main Field
Please note that the first field of each database (the top one in the field list) is considered the Main Field and, for this reason, it can't be moved or deleted. However, you can change its label (that is, the name of the field).4. Deleting a database
- Go in the "Databases" window by clicking on the "Databases" button.
- Select the database icon you want to delete.
- Use the "Delete..." menu item of the contextual menu to delete it.
